Pick a skill. Follow it through.
Nine illustrated walkthroughs. Take each step at your own pace.
Clothing & Appearance · 7 guided steps
Tie a tie
A four-in-hand knot, from the first cross to the final adjustment.
What you’ll need
- A necktie
- A mirror
A necktie and a mirror; no previous knot experience needed.
Keep the neck loop loose and comfortable. Stop and loosen it if it feels tight.
Illustrated walkthrough · optional automatic camera coachingProgress stays in this browser. Images and AI feedback are not saved with your progress.
Start with the wide end longer.
Drape the tie around your collar, seam facing in. Let the wide end hang lower than the narrow end.
Keep the fabric flat. You can always start again.
Before moving on: Both ends are flat and the wide end is longer.
Not checked
What the coach can check
Visible checkpoint: Both ends are in view, lie flat, and the wide end hangs below the narrow end.
Only this visible result can be camera-confirmed. Check comfort, safety and the written instructions for yourself.
Common mistake: Starting with the narrow end longer or twisted fabric.
Check for yourself: Both ends are flat and the wide end is longer. Keep the fabric flat. You can always start again.
Next records your own check unless the visible checkpoint is already camera-confirmed.
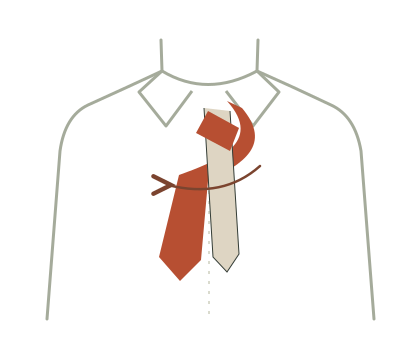
One tie. Seven little steps.
The demo video is coming soon.See it. Try it.
Your first tie. Seven guided steps.
Try the demoWorks best on your phone. Free during the demo.